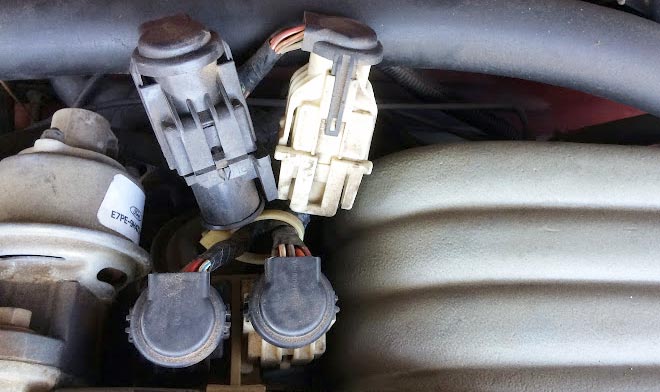
More often than not, these black and white engine harness connectors (Salt and Pepper shakers) are blamed for a host of EFI problems including surging idle. I’ve personally seen this a few times as well as some odd behavior which is why it’s recommended to maintain them or remove altogether.
What are the connectors?
These were used at the time of manufacturing, inserting the engine/transmission assembly into the chassis. They connect the injector/sensor harness from the engine to the chassis. Below is a diagram for the 10-pin connectors:

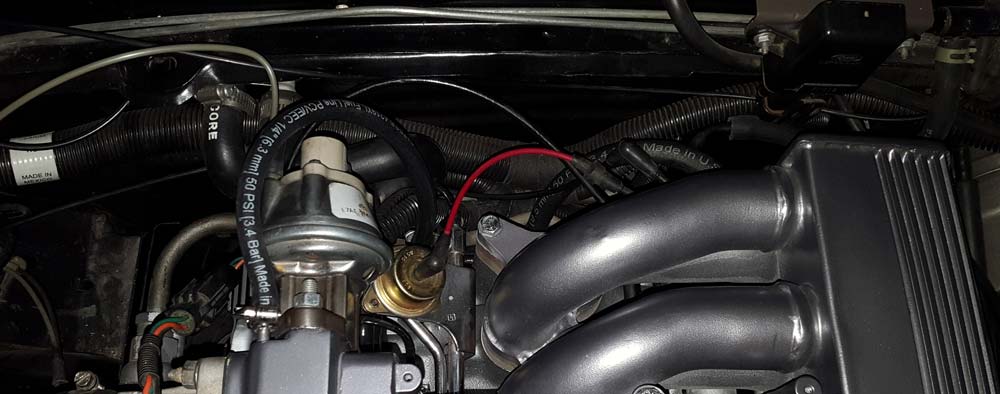
To remove the connectors, you first need to remove the cover plate on your intake (assuming it’s still stock?) and unlatch the white plastic hook that’s holding the two black/white connectors together.
The connector extension?
Some fox Mustangs from 89 to 91 have an extension installed as part of an emissions recall 91E19 that reads: The “Check Engine” warning light may be activated because of intermittent contact at the wiring harness (12A581 to 9D930) interconnect assemblies. This may result in unnecessary EVP sensor and EGR valve replacements.
Most enthusiasts will tell you to remove the extension and clean up the connectors. However I’d argue it’s there for a reason and use caution ensuring the harnesses are long enough.

Removing the fox Mustang salt & pepper shakers
Once Ford put the 5.0L into your fox, the 10-pin EFI connectors are done with their job. I personally do not have problems with this being a 1-piece harness as I typically remove the upper intake before doing a re and re engine swap which gives me access to unplug the injectors and sensors and move the harness out of the way. Removing them cuts 20 point of failures as the harness is now effectively “1 piece” (if you soldered this correctly) and it also removes a LOT of clutter, especially if you have the extension recall.

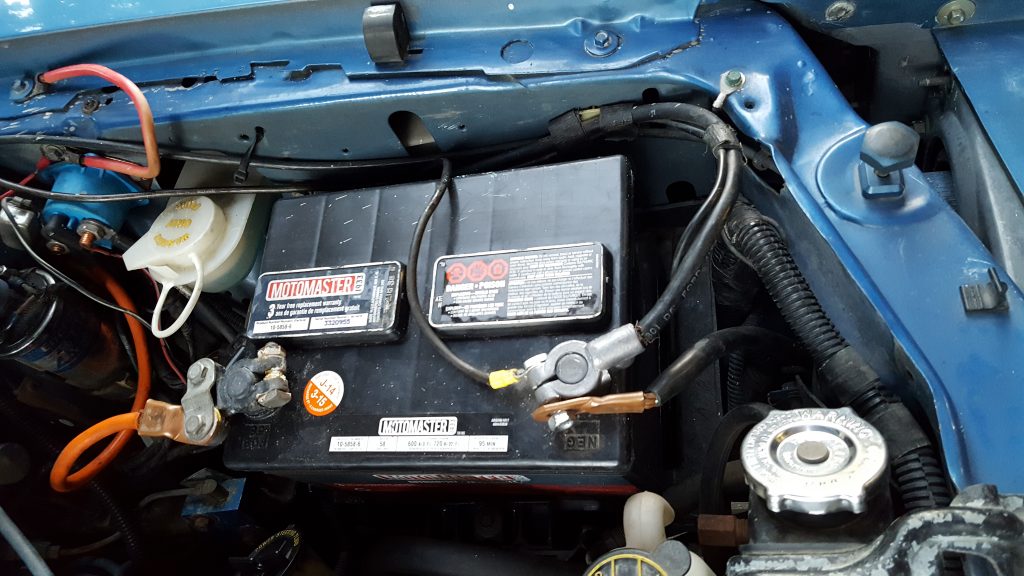
- Disconnect the negative battery terminal!
- Start by removing the upper intake and tape the lower intake so debris doesn’t end up inside.
- One at a time: cut a wire on each side and solder (how to guide on soldering wires) a 4 to 6″ extension piece (measure and double check before). Ensuring you properly solder the connections and use PVC shrink tube. Make sure to double-check everything you do.
- Loom the harness.
- Reinstall the upper intake by starting with the middle bolts and using an X pattern for the 4 outer ones. Torque is 12-18lb-ft.
- Connect the negative battery terminal and start it up to test your work
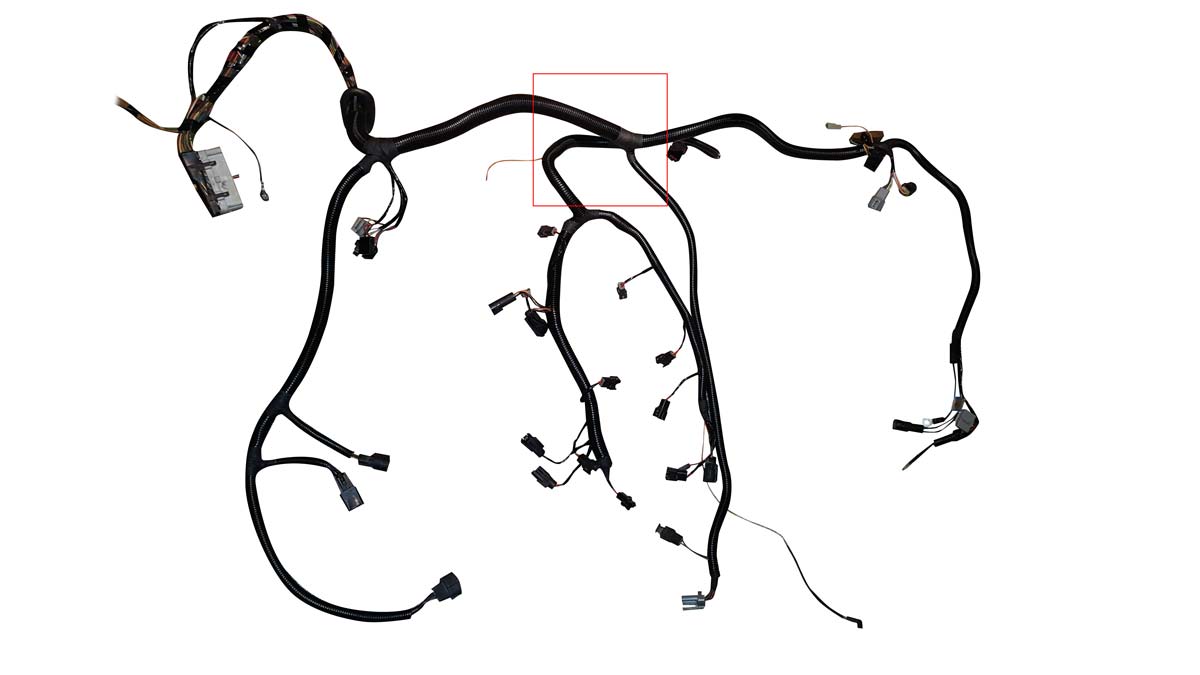
Below is the entire EFI harness with the deleted salt/pepper shakers (red box). I removed the entire harness to clean it up and redo the looming as well as remove the 10-pin connectors making this a one-piece harness.
 You can also clean the connectors!
If removing them seems like too much of a task to handle, you can also perform some maintenance on them. You’ll need some zip-ties, electrical contact cleaner and some dielectric grease.
- Disconnect the negative battery terminal!
- Start by removing the cover plate and releasing the black/white 10-pin connectors.
- Open the connectors by squeezing the four side clips and pull apart. Do not pry the clips apart!
- Clean the connectors with electrical contact cleaner and mini wire brush.
- Using a nail, spread the male connectors open just a tad to ensure a complete contact. If you open up the ends too much use needle-nose pliers to squeeze the “leafs” back together.
- Apply some dielectric grease.
- Connect the salt & pepper shakers. You can use zip ties to hold them together if the tabs are broken (most are, unless you’re one of the lucky ones).
- Connect the negative battery terminal and start it up to test your work.
The above will help ensure that the connections are working properly and helps to remove that aspect of diagnosing EFI issues.


